Today, we are going to show you how to make your first handwriting font or transfer your handwriting into font. Creating handmade fonts was not as easy as this but today you can make your first handwriting font and impress your friends and family. If you do blogging then your audience will also love a free handwriting font. There are so many ways to turn your handwriting into a font, but this is easiest possible way to make it in under five minutes.
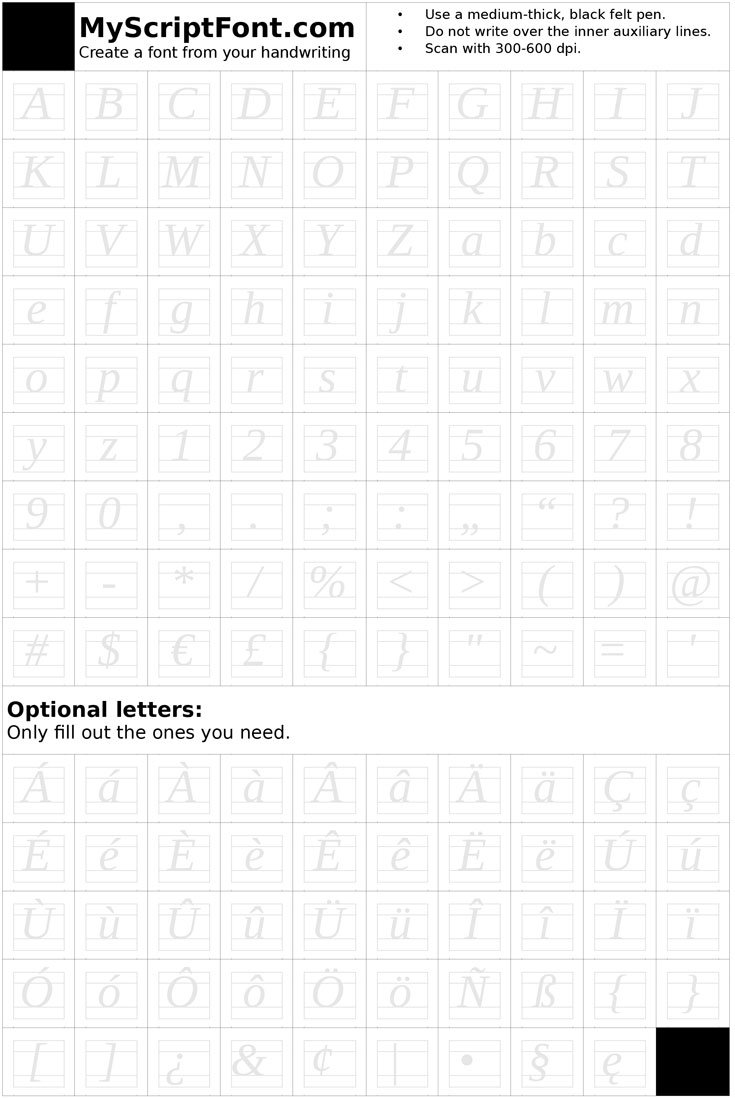
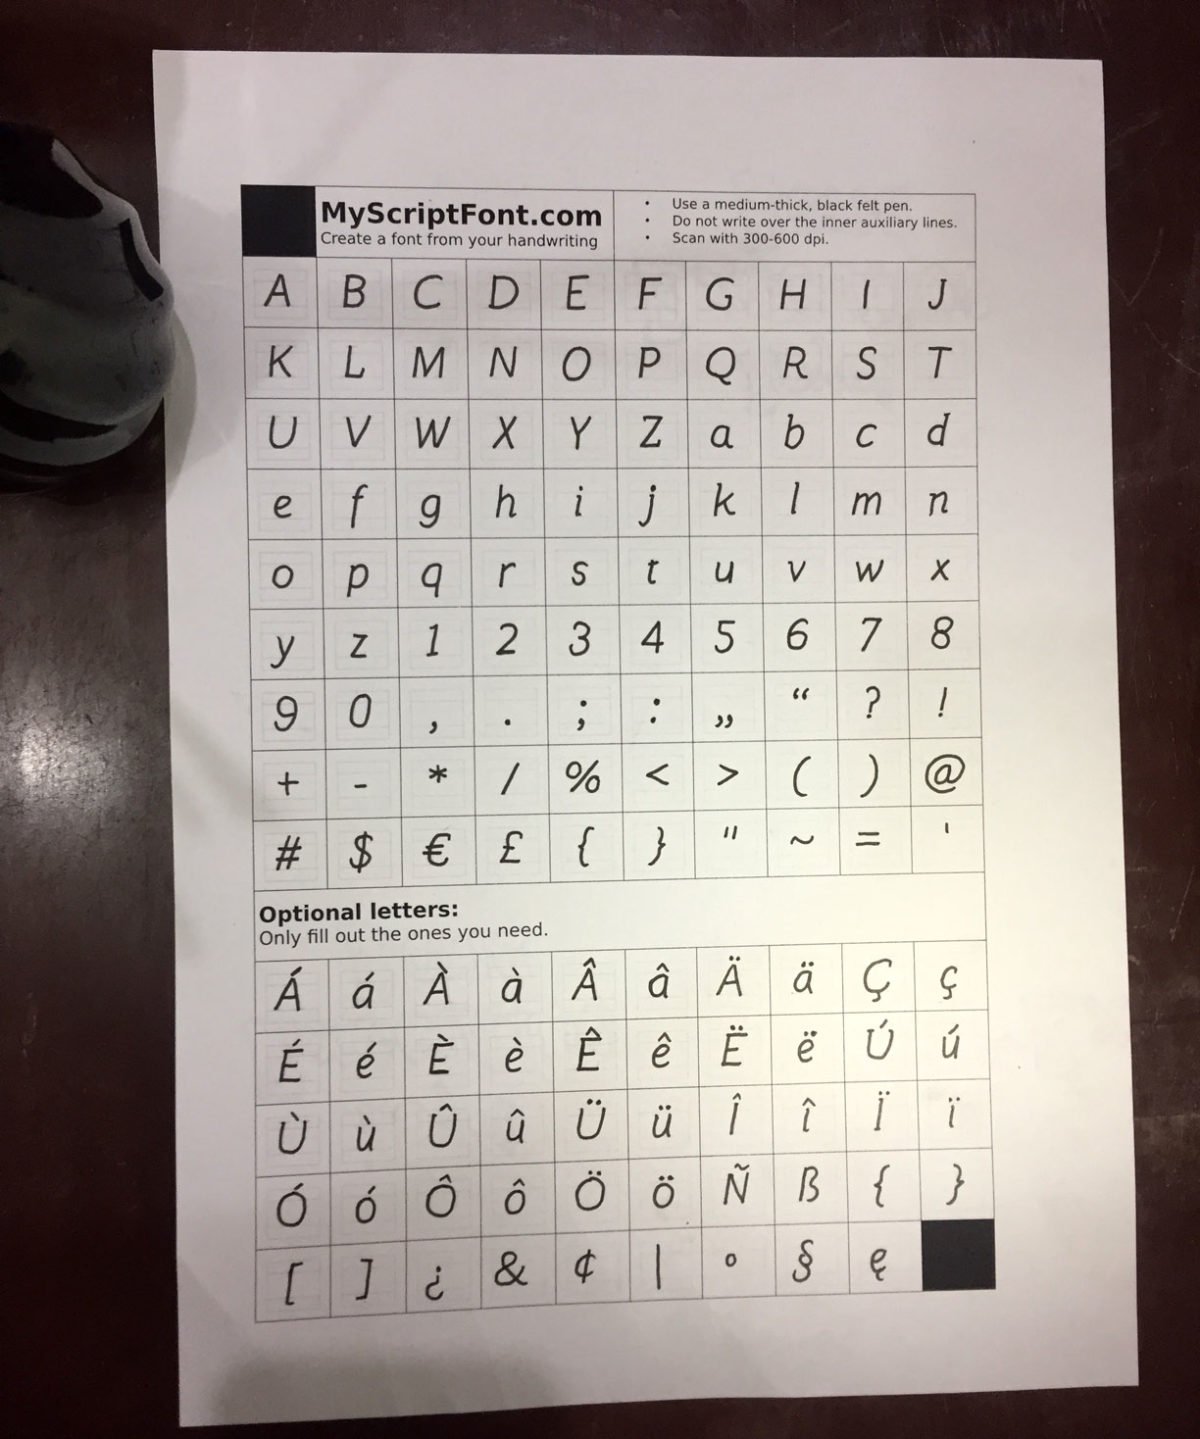
Step 1: Download and Print this PDF Template and fill all the letters and alphabets you want to be in your font.
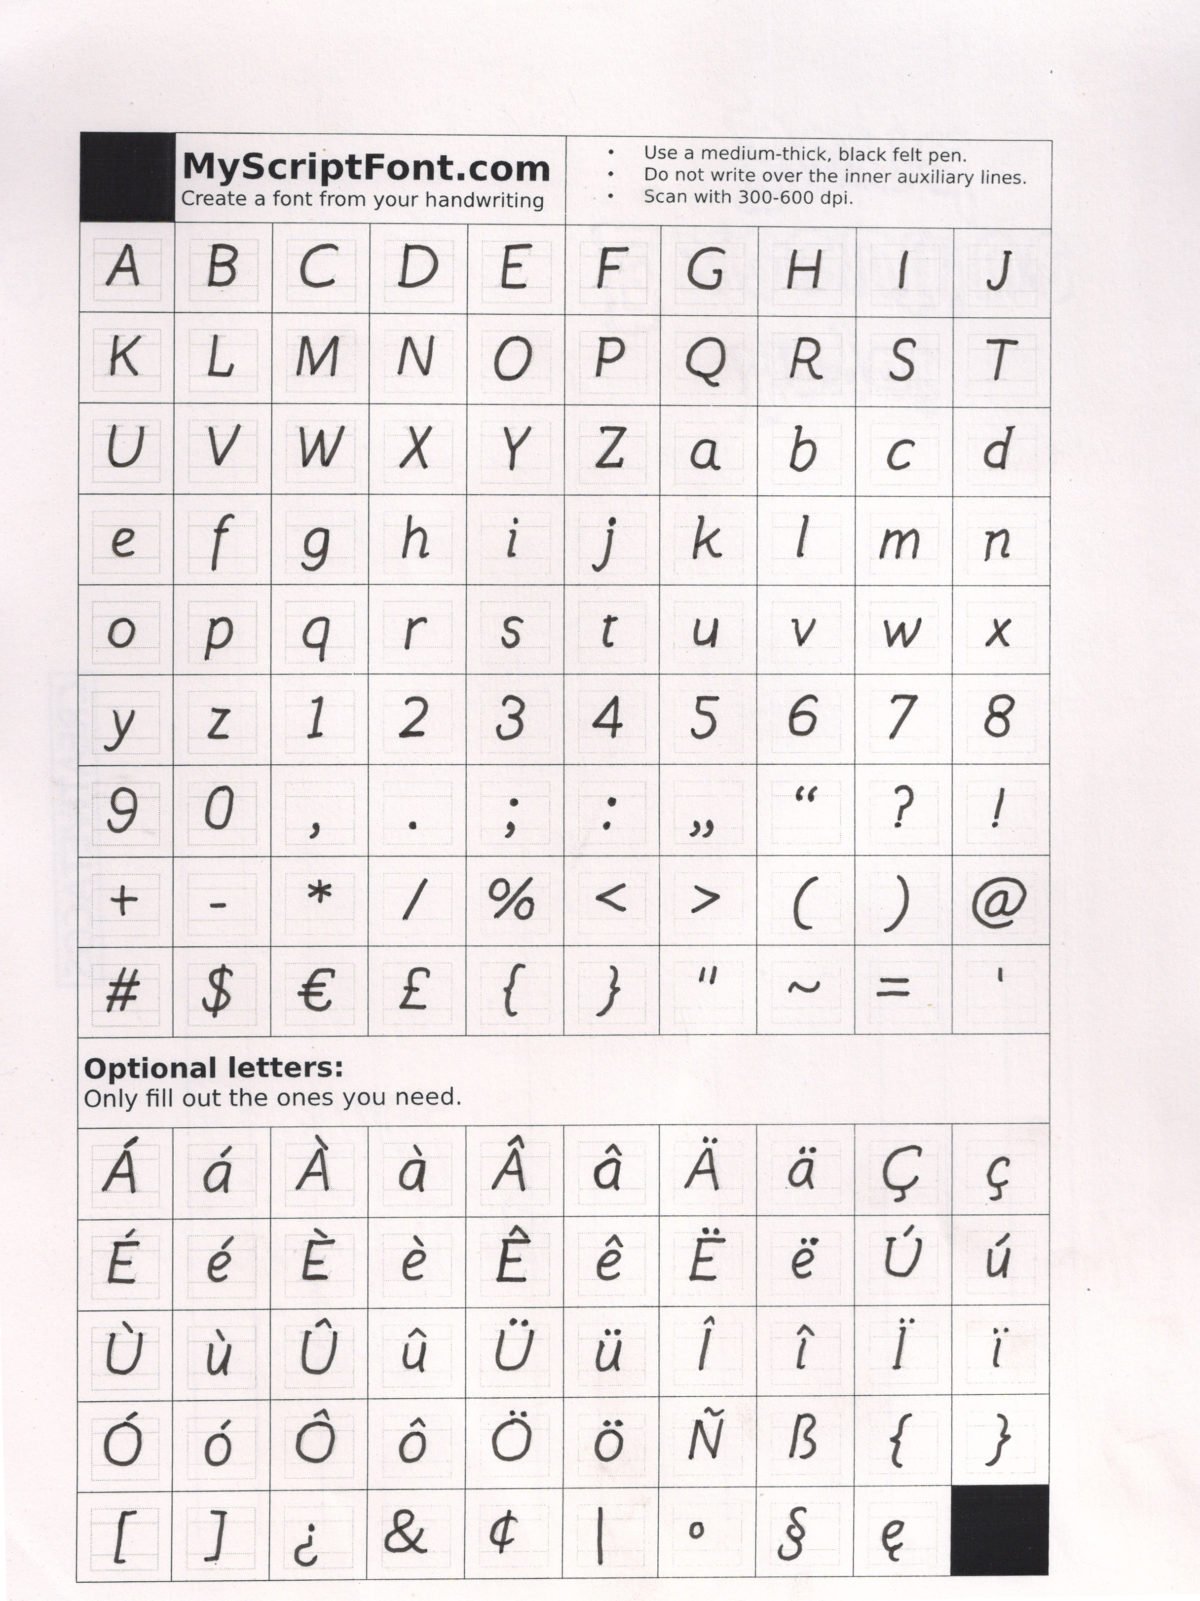
Step 2: Scan the page at 400 dpi in gray scale, not color.
Upload scanned JPG file.
Upload the page in the portrait layout and not in any other layout. If your scanned page is in landscape layout, then rotate your page to portrait.
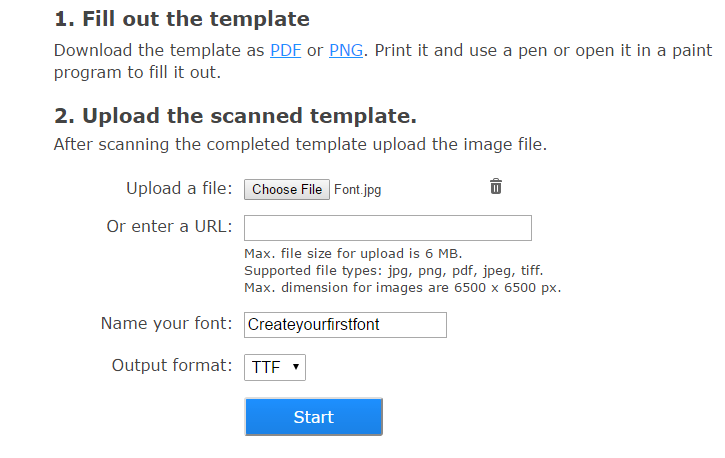
Step 3: Upload the template to MyScriptFont :
And then click on Choose File and then select JPG file and then name your font and after that choose your font format.
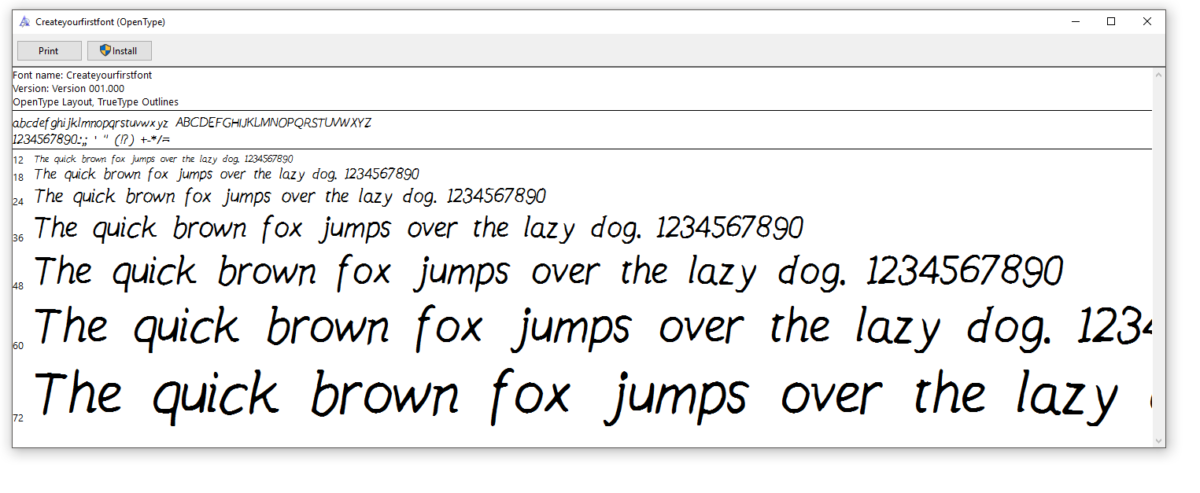
And if everything looks good then you can see the result like below:
If you like the font, then download the font file and your new font is ready to be installed.
[clickToTweet tweet=”Good Read: How To Make Your First Handwriting #Font Easily In Under Five Minutes” quote=”Good Read: How To Make Your First Handwriting Font Easily In Under Five Minutes”]
Step 4. Install your new handmade font.
Double click on your new .otf or .ttf file and it will show you Install box, click on Install or you can find alternate way to Install font below:
In Windows, click Start –> Control Panel –> Appearance and Personalization –> Fonts. Then click File –> Install New Font.
In Mac OS X, open Font Book then File –> Add Fonts (or command + O).
Your handwriting font is now ready! Download it 🙂
